

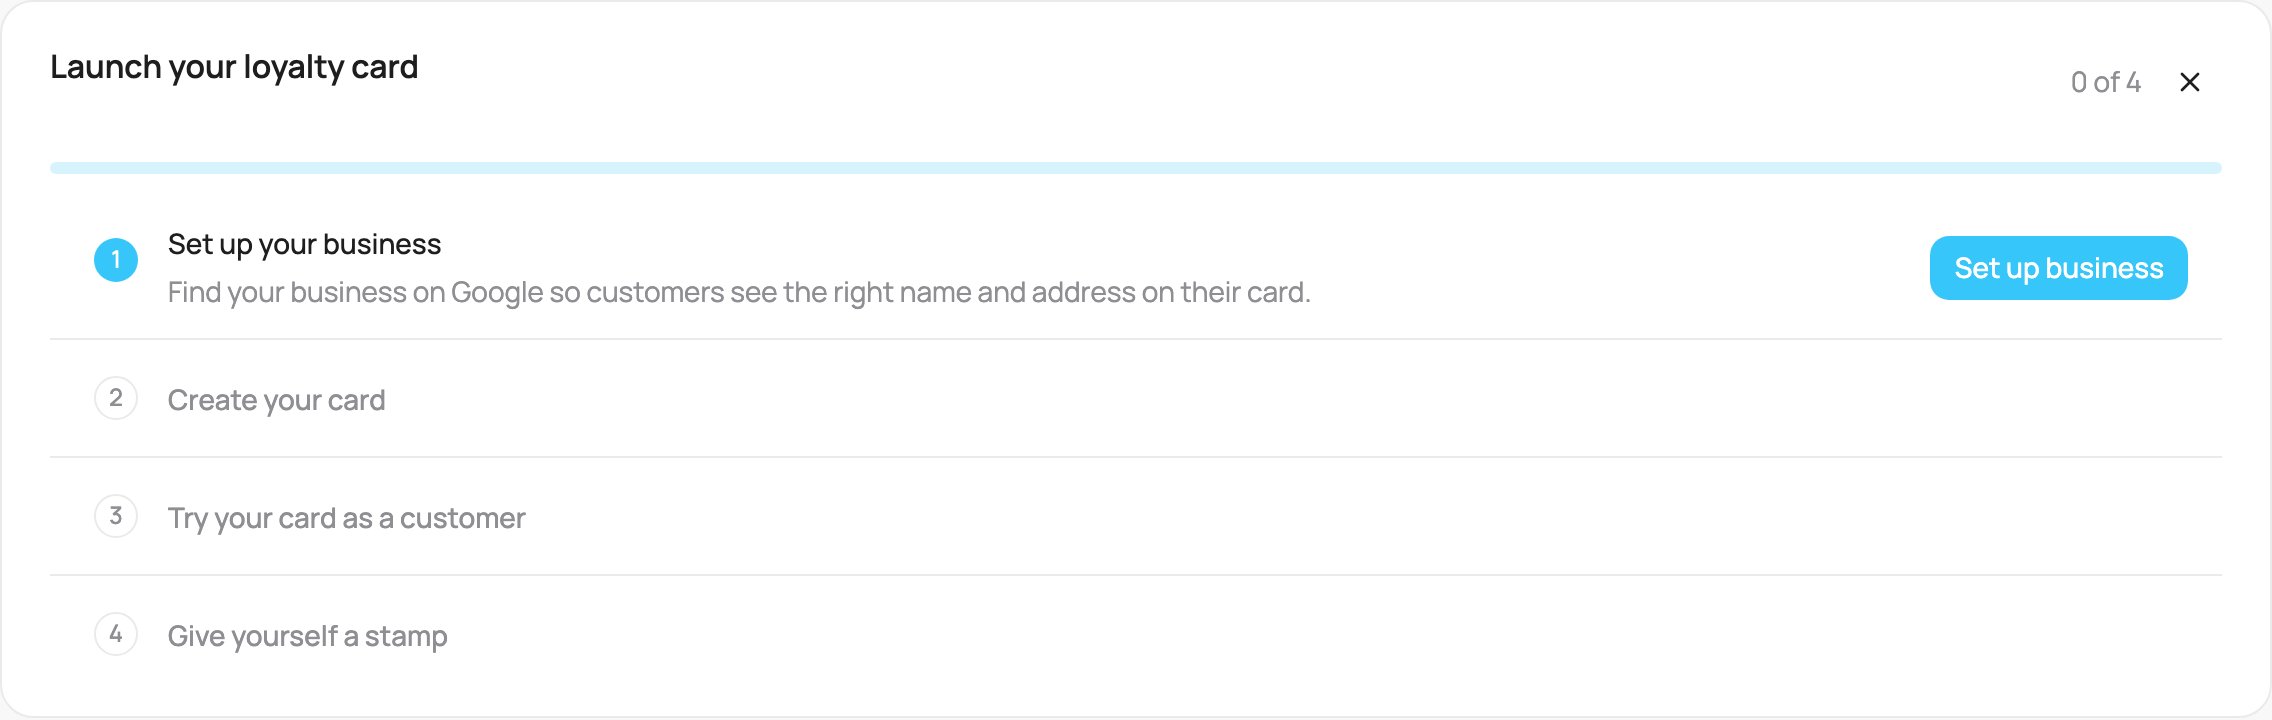
Home at the start: step 1 is the current step
- Only the current step has buttons. Done steps get a green check.
- The counter (for example 2 of 4) and the progress bar show how far you are.
- When a step finishes, a short message confirms it and the next step becomes current.
- Steps you already did your own way count too. Example: when three customers sign up from your poster, or a customer makes a first purchase, step 3 is done even if you never tried the card yourself.
The checklist is for account admins. Accounts connected to a POS system, and accounts that already had real customers before the checklist existed, do not see it.
1. Set up your business
Click Set up business, search for your business on Google and pick it. Check the name and the pin on the map, then click Save location. If Google does not know your business yet, add it manually from the same search.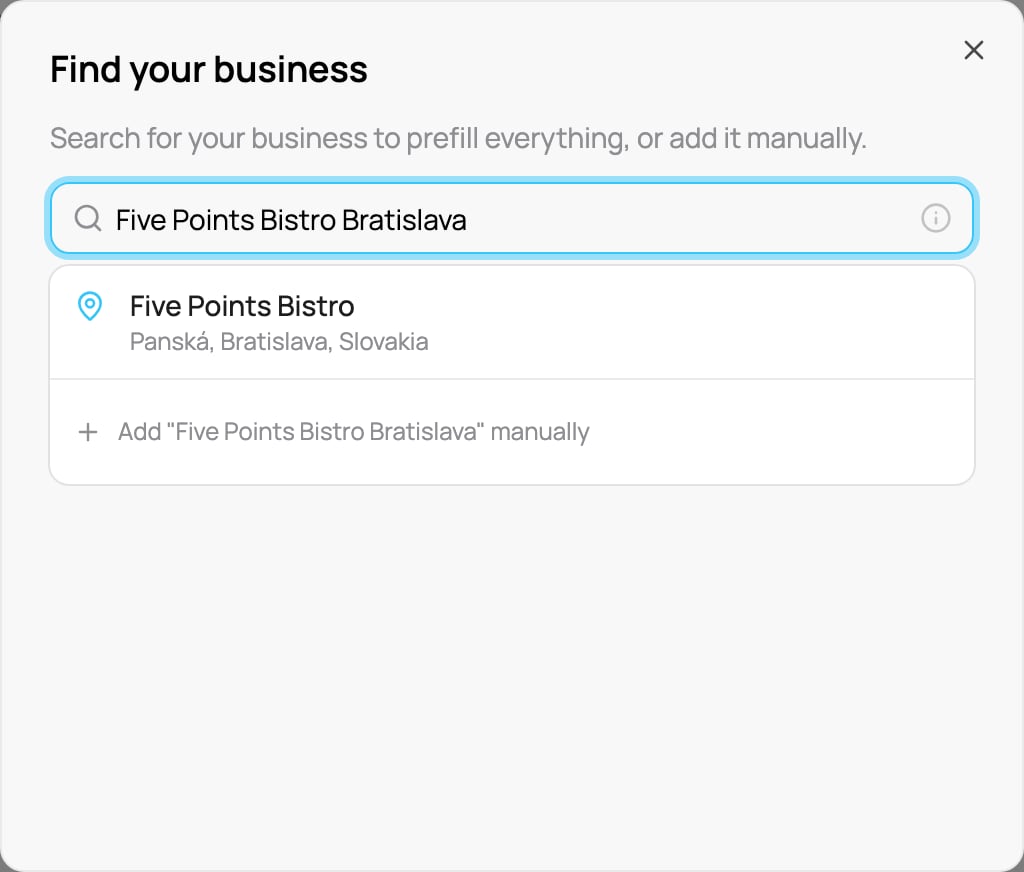
Find your business on Google
2. Create your card
Click Create card to open the card designer. Choose a card type, set the design and click Create & Activate. You come back to Home and the step is done. See Creating a card for the full designer.- A card saved with Save as Draft does not finish the step. The step shows Finish card until the card is active. Finish card opens the draft and asks whether to activate it now.
- The designer needs a computer. On a phone, tap Email me the link: we send you a link to open on your computer. If you are not signed in there, sign in and the link takes you straight to the designer.
3. Try your card as a customer
Join your own card, exactly as your customers will, and get the poster for your shop. Two things finish this step: your card is on your phone, and the poster is downloaded. First, scan. Click Show the QR code: your poster opens on the screen.- Open the camera on your phone and scan the QR code.
- Sign up like a customer would.
- Add the card to your Apple or Google Wallet.
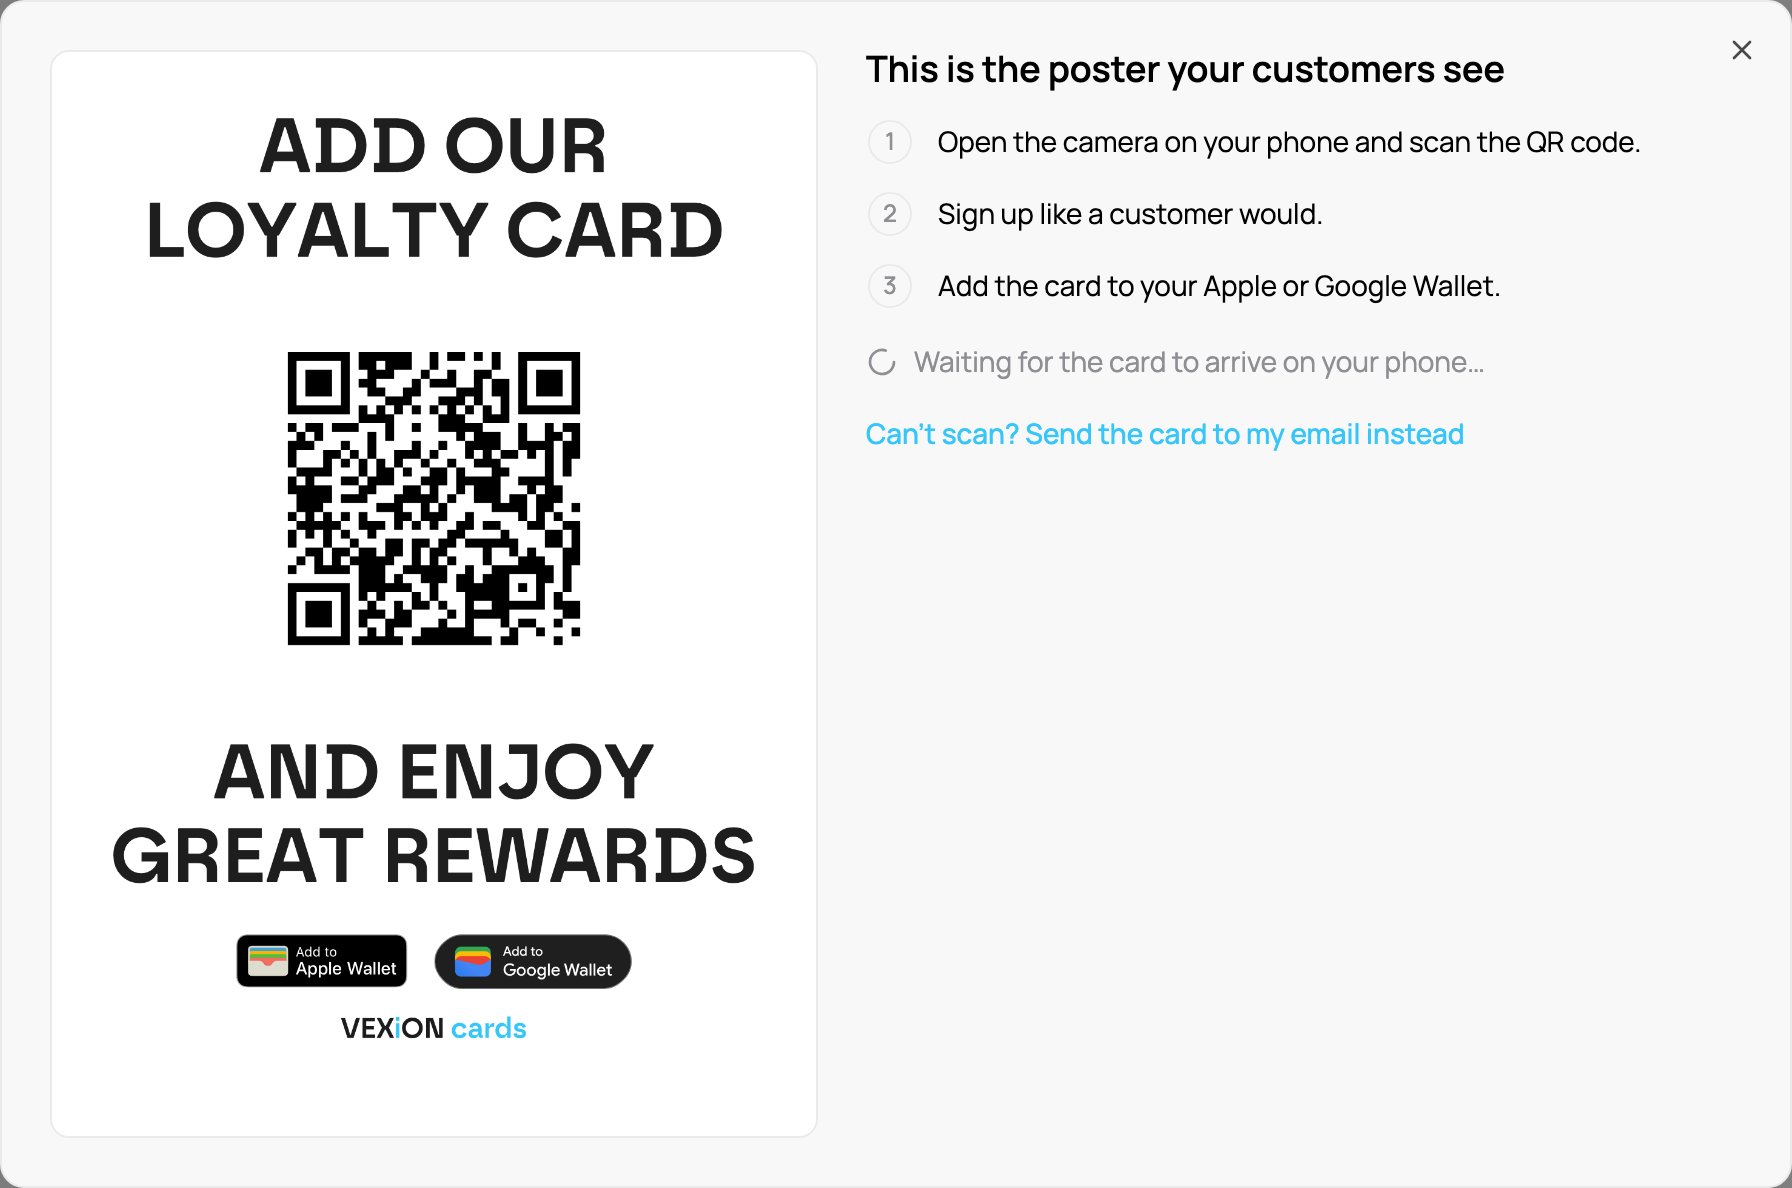
Scan your own poster with your phone
- Download poster: a printable PDF with the QR code. Print it and put it by the till.
- Download QR: only the QR code, for your own designs.
- Copy link: the sign-up link, for your website or social media.
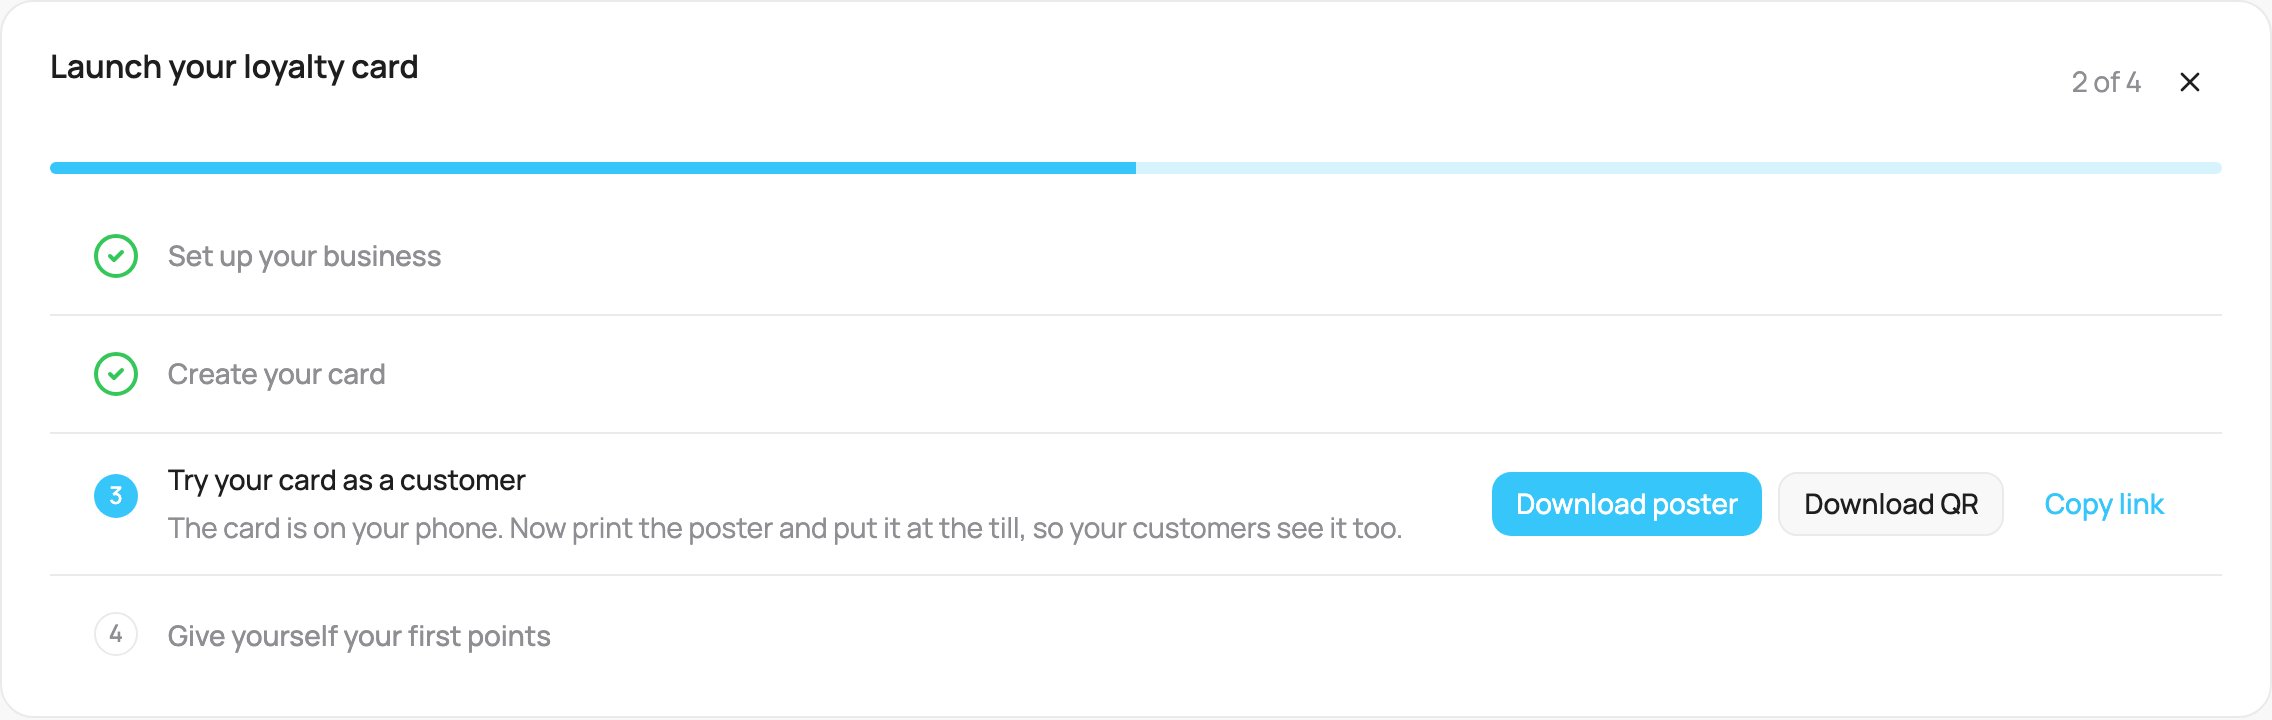
Your card is on your phone: now the poster
- Signed up with another email? The app asks Someone just added your card. Is this you? Click Yes, that’s me, or No, keep waiting. If you sign up with your own account email, or with an email you used for your test card before, the app knows it is you.
- Can’t scan? In the poster window, click Send the card to my email instead. The form is already filled with your name and email; send it and open the email on your phone.
- Wallet still being prepared? The step says so and only offers the poster. We email you when it is ready.
- Your own card does not count in the Home dashboard numbers. You can still see it in Customers and in the Scanner.
4. Use your card in the scanner
Click Open scanner. The scanner opens with your name already searched. Click your name and do what your staff will do at the till. The step is named after your card type:
Your phone updates in a few seconds and the app says You’re all set.
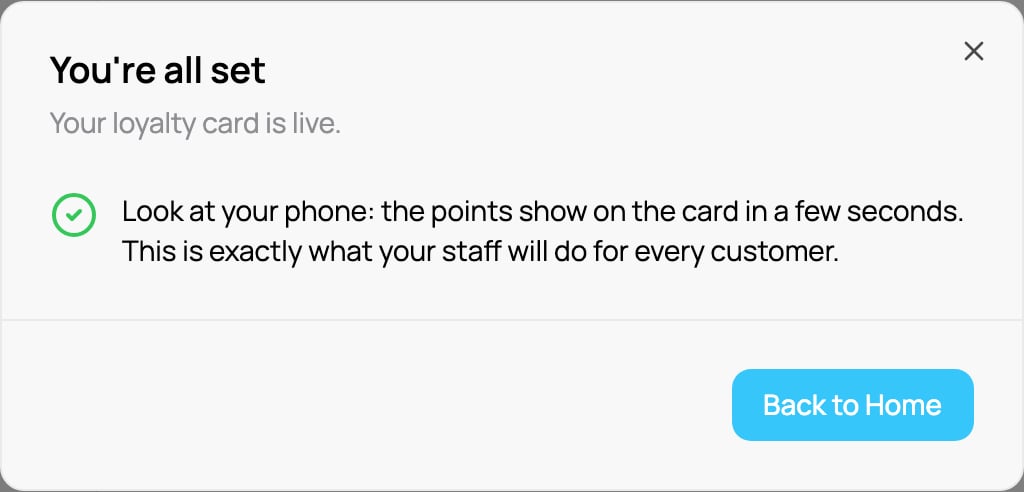
The last step is done
You’re live
Back on Home, the card says You’re live and shows what to do next. It lists only the actions you have not done yet:- Put the poster at the till: Download poster (on a phone Share poster).
- Serve your first customer: Open scanner.
- Send your first message: Write a message goes to the message editor.
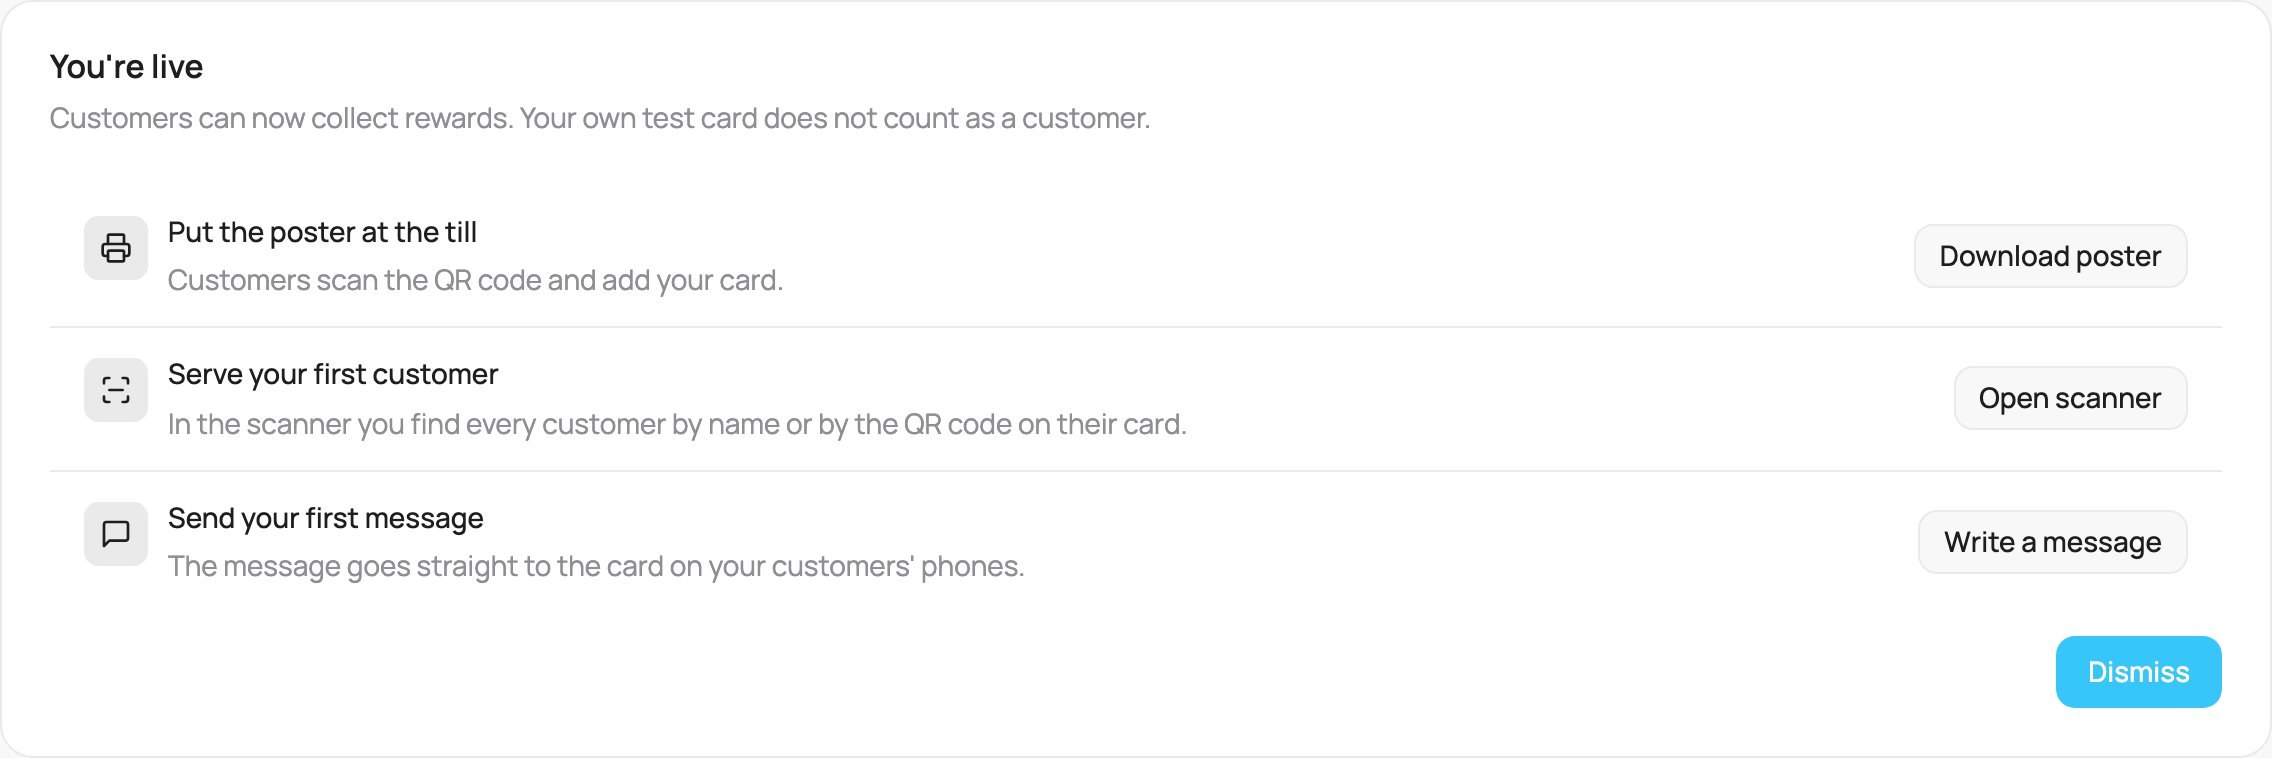
Live, with the next actions
Deleting the card that has your own test card on it opens the checklist again, so you can add yourself to the new card. The delete window warns you first. This does not happen once real customers use your card.
On a phone
The same checklist works on a phone, with one button per step: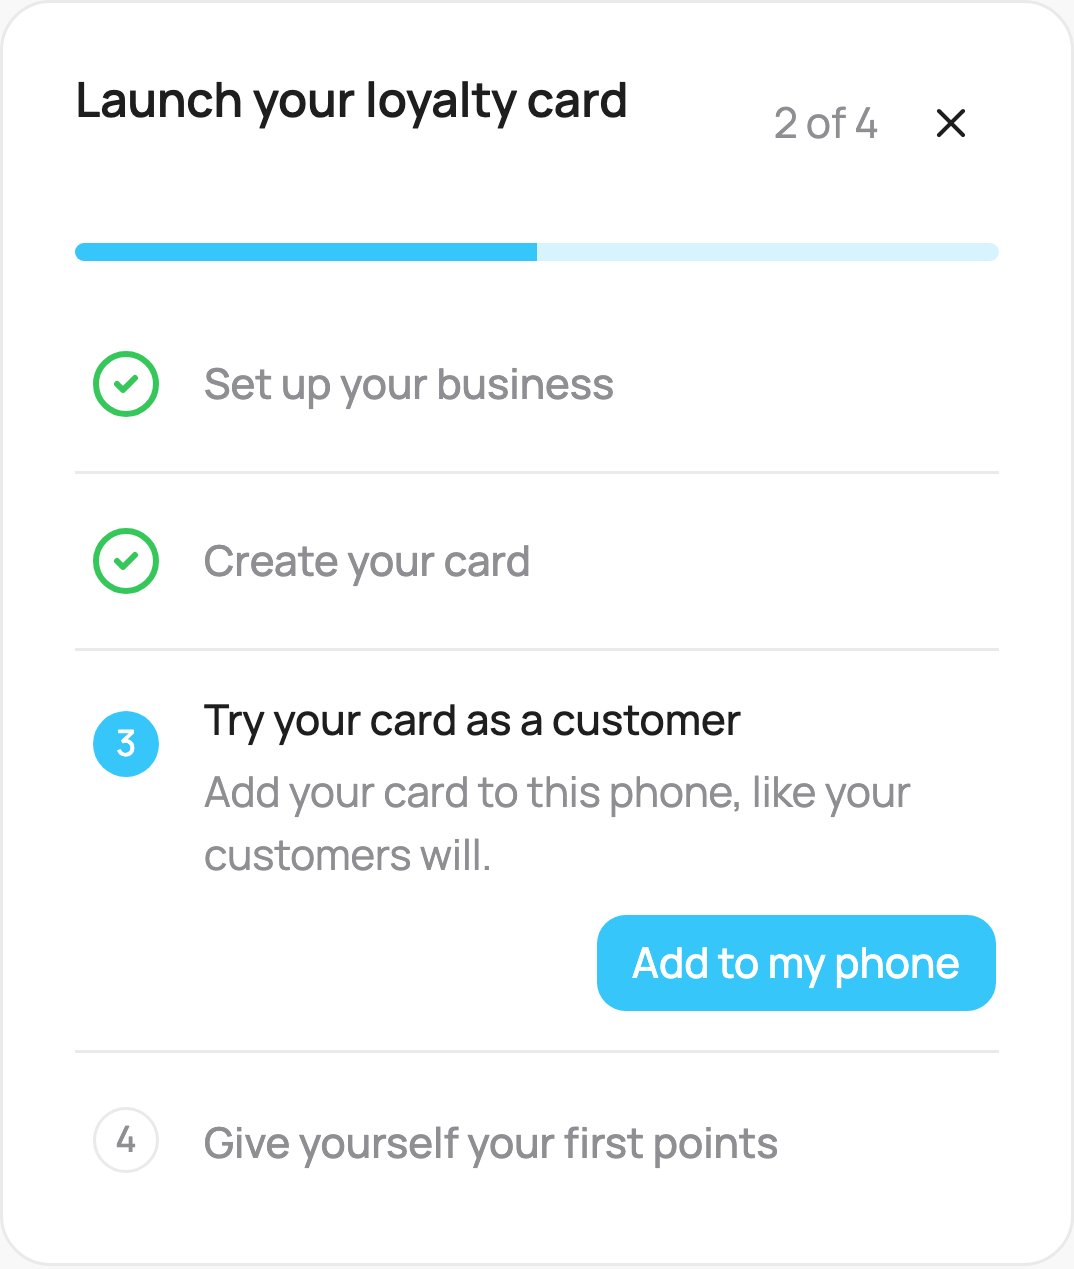
The checklist on a phone
Hiding the checklist
The X in the corner (tooltip Hide for now) collapses the checklist to one line on Home, for example Launch: 2 of 4 · Show. Click that line to open it again. After you reload the page, the full checklist is back. On a computer, the sidebar also shows your progress and the next step until you are live. Click it to go back to the checklist.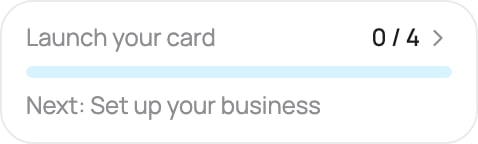
The Launch row in the sidebar
Tips in the sidebar
After launch, the sidebar shows one setup tip at a time for the next thing worth doing, for example Send a campaign or Turn on location push. A tip card stays until you do that step, wherever you do it.- Click the card to open the page for that step. The card stays until the step is done.
- The X on a tip card means Remind me later: the card comes back after 7 days. After the third time, it comes back after 90 days.
Reminder emails
If a step waits, we send you one short reminder email for it, with a link straight to that step. A reminder only ever asks for the step Home shows as next: a step you already did, in any way, never gets an email. When you are live, you get a congratulation email and the reminders stop. Good to know:- Which emails you get and how often: see Emails from VEXiON.