

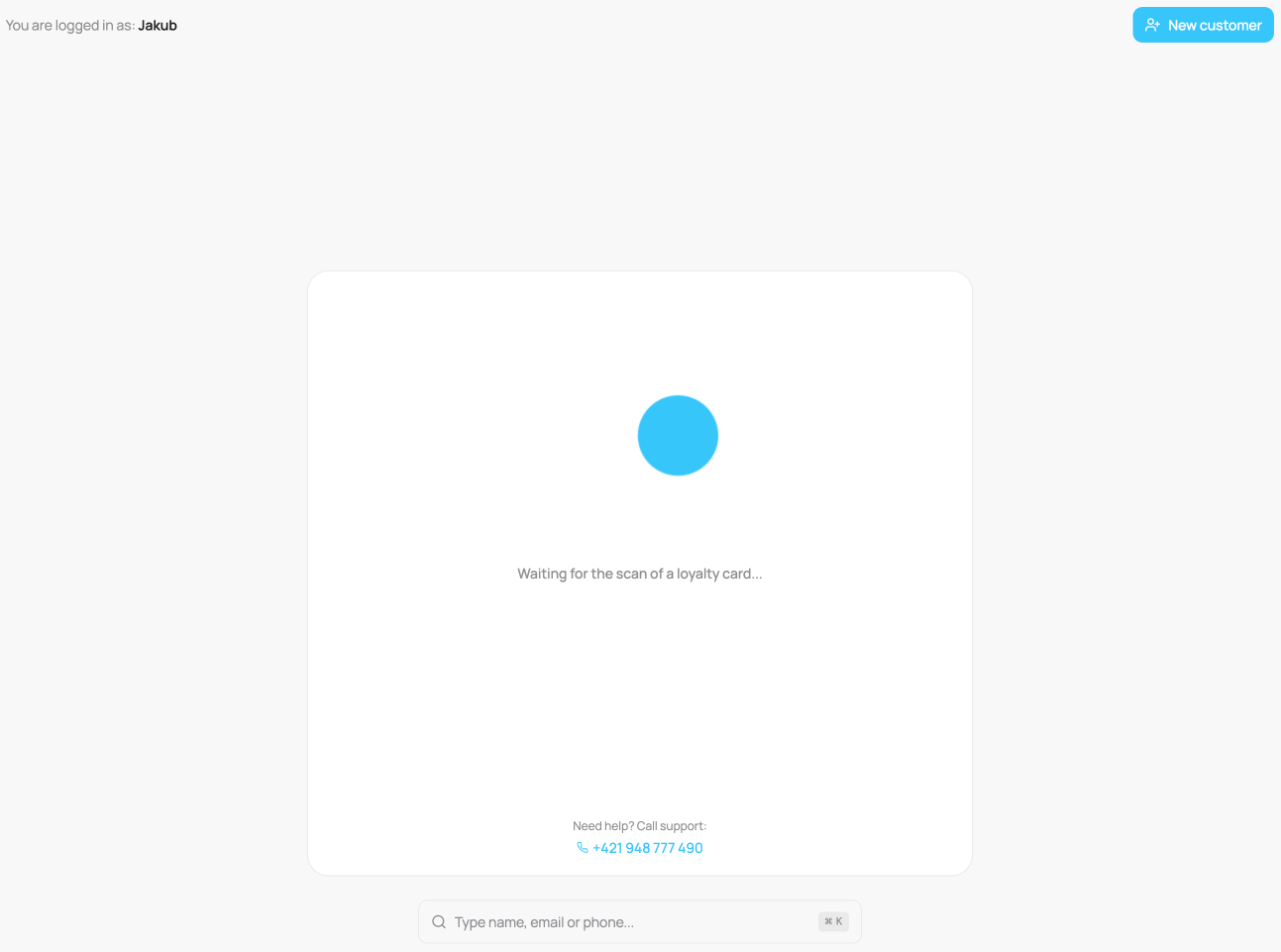
The scanner, waiting for a card
Before you start: your location
Every scan is recorded with who made it and where (a location, your store or branch), so your reports are attributed to the right place, each staff member’s activity adds up, and the till only offers the cards that belong there. How the active location is set depends on the person:- Scanner staff and anyone with a single location: it is set automatically to their assigned location. They never have to think about it.
- Admins or managers who work at more than one location: the first time they scan on a device (or when the saved location is no longer valid), a “Select your location” screen appears. Pick where you are working, and the scan you just made replays automatically. The choice is remembered on that device.
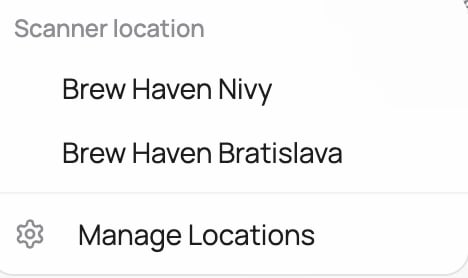
The location prompt for multi-location staff
You can change the active location at any time: on desktop use the location switcher at the top of the sidebar; on phone use the More menu in the bottom bar. The current one is shown at the top of the sidebar on desktop (labelled Scanner location when you are on the scanner) and under More on a phone. Scanner staff and single-location users see it as a read-only label.
When the card belongs to a different location
For Admins and Managers, if the card you scan is not enabled at your active location, VEXiON checks the other locations you have access to before refusing anything:- Enabled at exactly one other location you can access: the transaction books to that location automatically, and a toast confirms “Booked to [location]”. Your active location does not change, only this one transaction is affected.
- Enabled at several of your locations: a dialog asks “Which location is this for?”, explaining “This card is enabled at more than one of your locations. Choose which one this transaction is for.” Pick one, your choice applies only to this transaction, and your active location stays the same for the next scan.
- Enabled only at a location you do not have access to (managers only): the scan is refused with “This card is not enabled at your location.” Admins have access to every location, so this refusal does not apply to them.
- Not enabled at any location at all: this is not an error, the transaction simply books to your active location as normal.
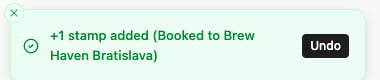
The confirmation toast when a card auto-books to another location
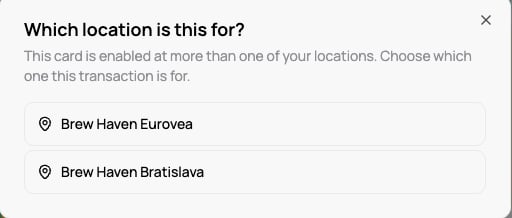
The location picker when a card is enabled at more than one of your locations
The screen adapts to your device
The scanner reshapes itself for the screen it runs on, so it works on a shop iPad, a phone, or a back-office desktop:Desktop & large tablet
A two-column layout: the customer’s details and card preview on the left, the actions on the right. The sidebar stays visible.
Tablet (portrait)
A single stacked column: customer details on top, actions below, scrolling if needed.
Phone
A single stacked column with a bottom navigation bar instead of the sidebar. The tabs depend on the role. Scanner staff see Scanner and More.
Two ways to scan
There are two scan modes. Which is the default depends on the device, and you can switch between them in Settings → General → Scanner Mode (Device Camera or Bluetooth Scanner). The choice is saved per device.Hardware / Bluetooth scanner
The default on desktops and tablets. A USB or Bluetooth barcode/QR scanner behaves like a keyboard: when it reads a code it “types” the characters and presses Enter. The scanner screen listens for that in the background, so you do not need to click into any field, just point the scanner at the customer’s QR code and it opens their card instantly.Because it listens globally, a hardware scan works from anywhere on the scanner screen. It ignores scans while you are typing in a box (for example the search field) or entering an amount on the keypad, so your typing is never mistaken for a scan. Finish or clear the amount first.
Camera
The default on phones. Tap Scan QR Code to open the full-screen camera and point it at the customer’s QR code. It uses the device’s rear camera, and works on both Android/Chrome (fast built-in detection) and iPhone/Safari. iPads have good rear cameras and can switch to camera mode too.The customer’s QR code is the one on their wallet pass (Apple Wallet or Google Wallet), or a printed card if you issued one. If you set a custom card number when creating the customer, scanning that number opens the same card.
Finding someone without scanning
If a customer cannot show their code (they forgot their phone, or the QR will not scan), use the search box (or press Cmd/Ctrl + K). Search by name, email, or phone, then pick them from the results to open their card, exactly as if you had scanned it. New customer offers only the cards used at this location. The search finds every customer whose card is used at this location, wherever they signed up or shopped before. If one card runs at all your stores, its customers can be found at all of them. Customers of a card that is switched off at this location do not appear here (see which cards run at each location). If a scanned code belongs to nobody, you see “Customer not found. Please ask them to register.”Enrolling a customer on the spot
Tap New customer (top right) to enrol someone and send them a card without leaving the till. See Adding a Customer for that flow.When a card is scanned
The customer’s card opens in the customer view. It has two parts:- Customer details: their name and email, a customer #ID with a copy button on desktop (staff can paste this onto a POS receipt to match a loyalty scan to a sale), and their key stats for this card. The name lights up on the customer’s name day, and their date of birth on their birthday, so staff can wish them well.
- Actions: the controls for that card type (add stamps, add points, apply a discount, and so on).
What you see on phone vs desktop
The customer’s stats are the same underneath, but how many are shown depends on the screen:- Desktop / large tablet: the full picture, a card preview plus every stat listed as rows (for example last visit, progress to the reward, and member since).
- Phone / tablet portrait: space is tighter, so you get a coloured tile with the one number that matters most (stamps, points, or balance) plus the two most useful stats. On very short screens only the tile is shown. The card preview and a couple of secondary stats (such as member since) are only shown on the wider screens.
Reversing a transaction
After most actions a confirmation appears with an Undo button, so if you tap the wrong thing you can reverse it on the spot. This covers adding or removing stamps, adding, subtracting, or redeeming points, applying a discount, and recording a membership entry.Every transaction also updates the customer’s pass and usually sends them a push notification. See the customer’s wallet pass for what they receive.
Large amounts
When you enter a big amount, the scanner asks Large amount: “You are about to book 1,250.00 €. Is this correct?” Tap Yes, book it to continue. The question appears above about 1,000 EUR worth, in your currency: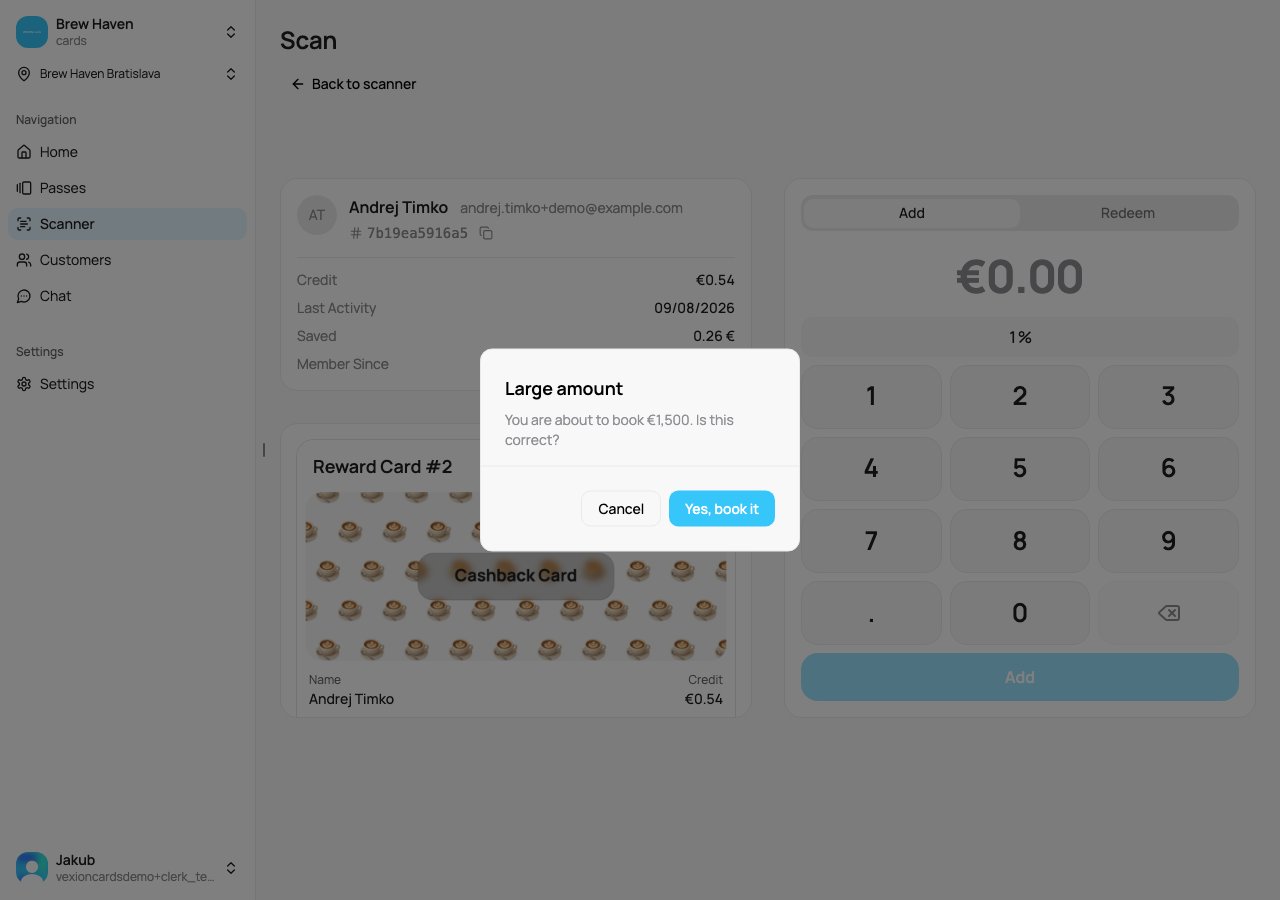
Confirm question for a large bill
A single purchase above about 10,000 EUR worth (250,000 CZK, 4,000,000 HUF) is refused. You can set a lower limit in Settings, General.
Actions by card type
What appears in the actions area depends on the card the customer holds. There is a page for each card type and variant, matching the Card Types list:Stamp cards
Add stamps and redeem the reward. Stamp cards paid in advance deduct and recharge instead.
Discount cards
Apply the customer’s discount to a purchase. Employee cards use a monthly limit.
Gift cards
Top up a balance or deduct a payment.
Coupon cards
Redeem the coupon.
Membership cards
Activate a membership or check a member in.