With Papaya, you set your loyalty rules on products inside VEXiON. First you sync the menu from Papaya, then you decide which products earn and redeem points.
Names, prices, and categories come from Papaya and are read-only in VEXiON. In VEXiON you only set the loyalty part (whether a product is in the program, how many points it earns, and any redemption).

Syncing the menu

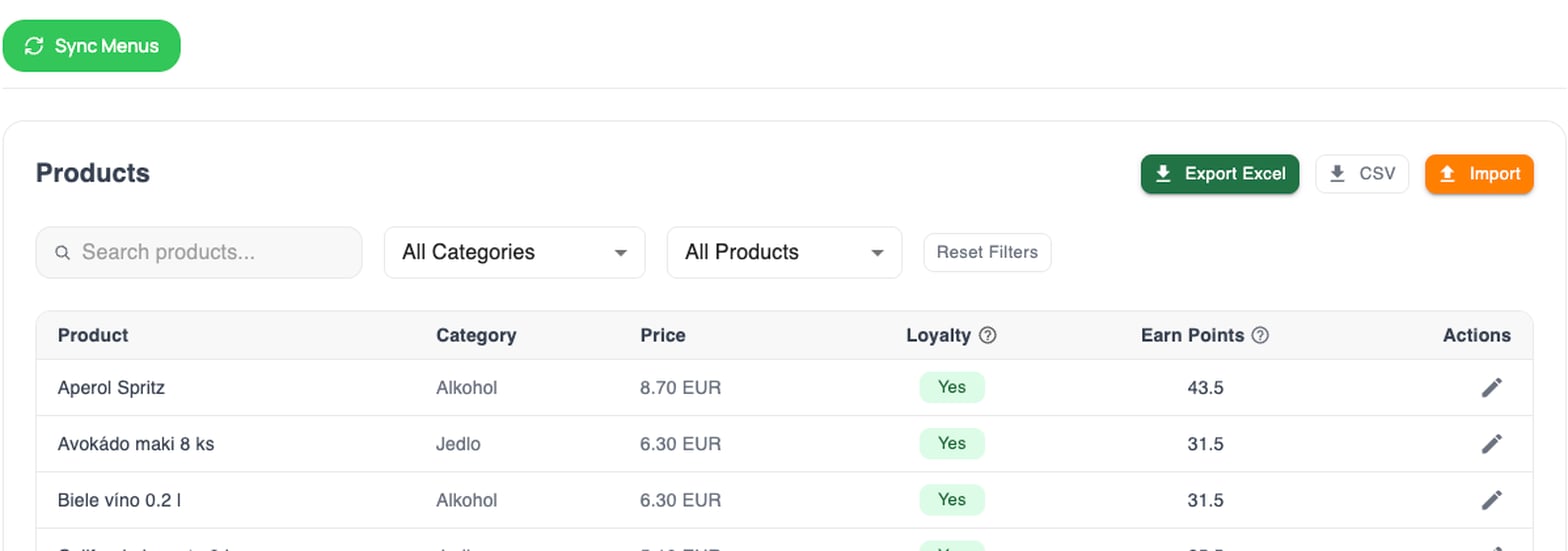
After connecting (see Connecting and setup), click Sync Menus to pull your products in.
Re-syncing is safe. Product names, prices, and categories refresh from Papaya, but the loyalty settings you have set are preserved. New products arrive with loyalty on and points at 0. Products you remove in Papaya disappear from the table on the next sync. Their loyalty values are kept if the product comes back.
Sync after your first connection, whenever you change your menu in Papaya, and roughly once a week to stay current.
The green Sync Menus button above the Products card, which has Export Excel, CSV and Import buttons, a product search and category filters, and the first table rows showing an Earn Points column.

Syncing a location's menu from Papaya

The product table

After syncing, the Products table lists every product. The columns depend on the card type you enabled:
The columns are named Stamps or Points depending on your card type. For Reward (cashback) cards you mainly set Earn, since points convert to a euro credit rather than a per-product reward.
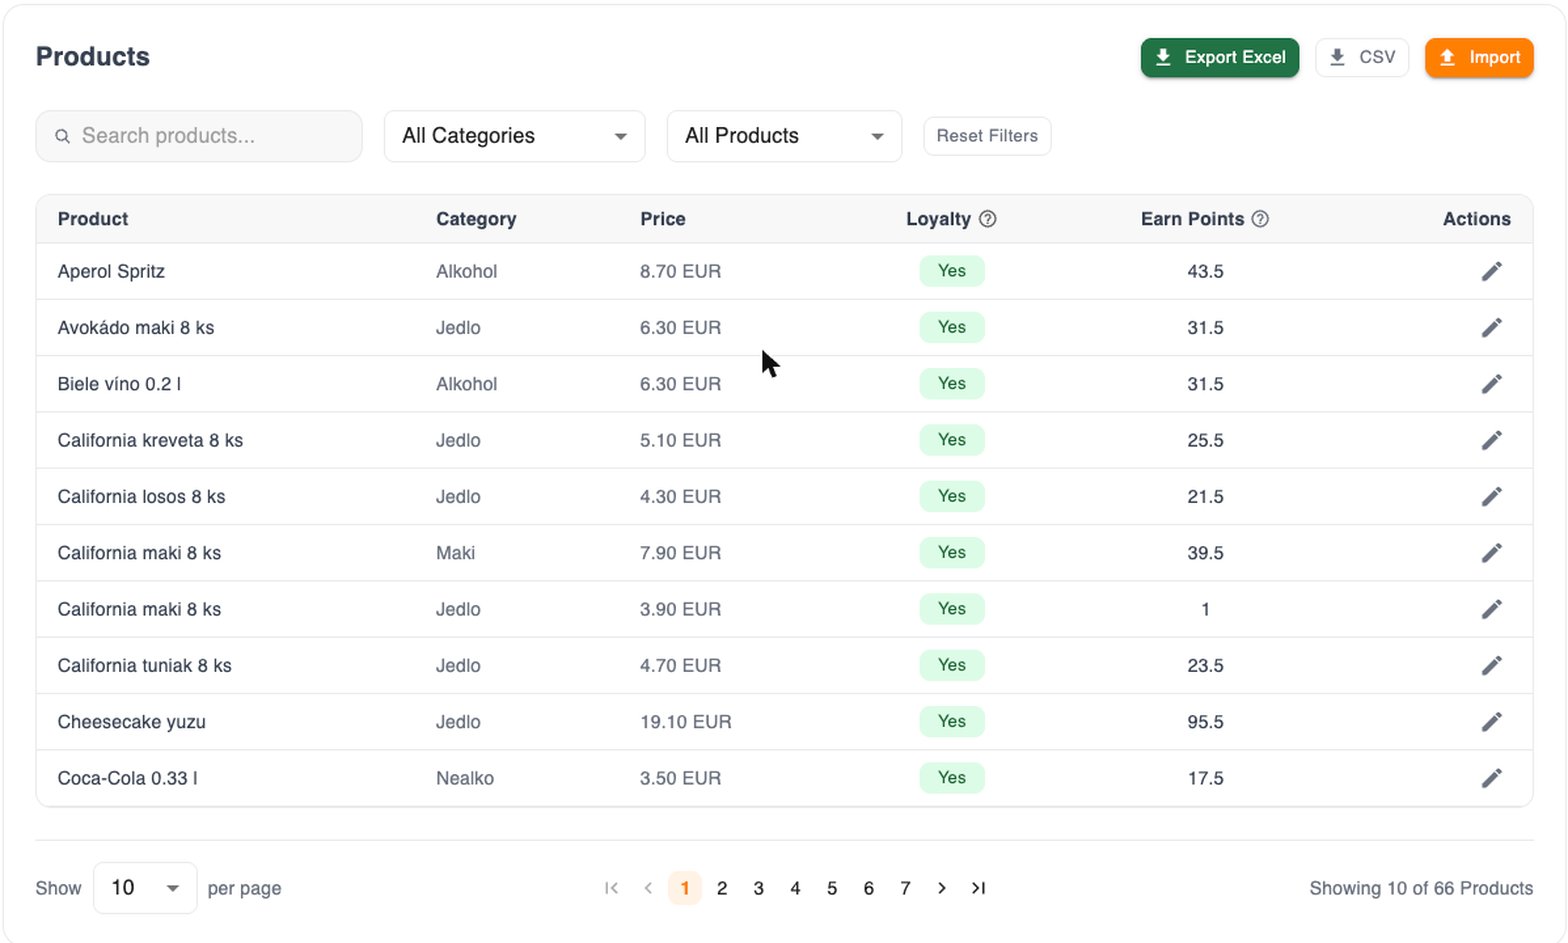
The Products table listing product name, category, price, a green Yes loyalty badge, Earn Points and an edit pencil for each row, with pagination reading Showing 10 of 66 Products.

The synced product table with loyalty columns

Finding products

Above the table: Search by name, All Categories to filter by category, All Products to filter by loyalty status, Reset Filters to clear them, and per page with page navigation for large menus.

Editing a product

Click the Loyalty chip to toggle a product in or out of the program, or the pencil to edit its point values, then save.

Bulk editing with import and export

For a large menu, export the products, set the loyalty columns in a spreadsheet, and import them back.
1

Sync the menu

Pull the latest products from Papaya.
2

Export

Click Export Excel or CSV to download all products with their current loyalty settings.
3

Edit in a spreadsheet

Set the loyalty columns for your products.
4

Import

Click Import, drop your file, check the summary, and confirm.
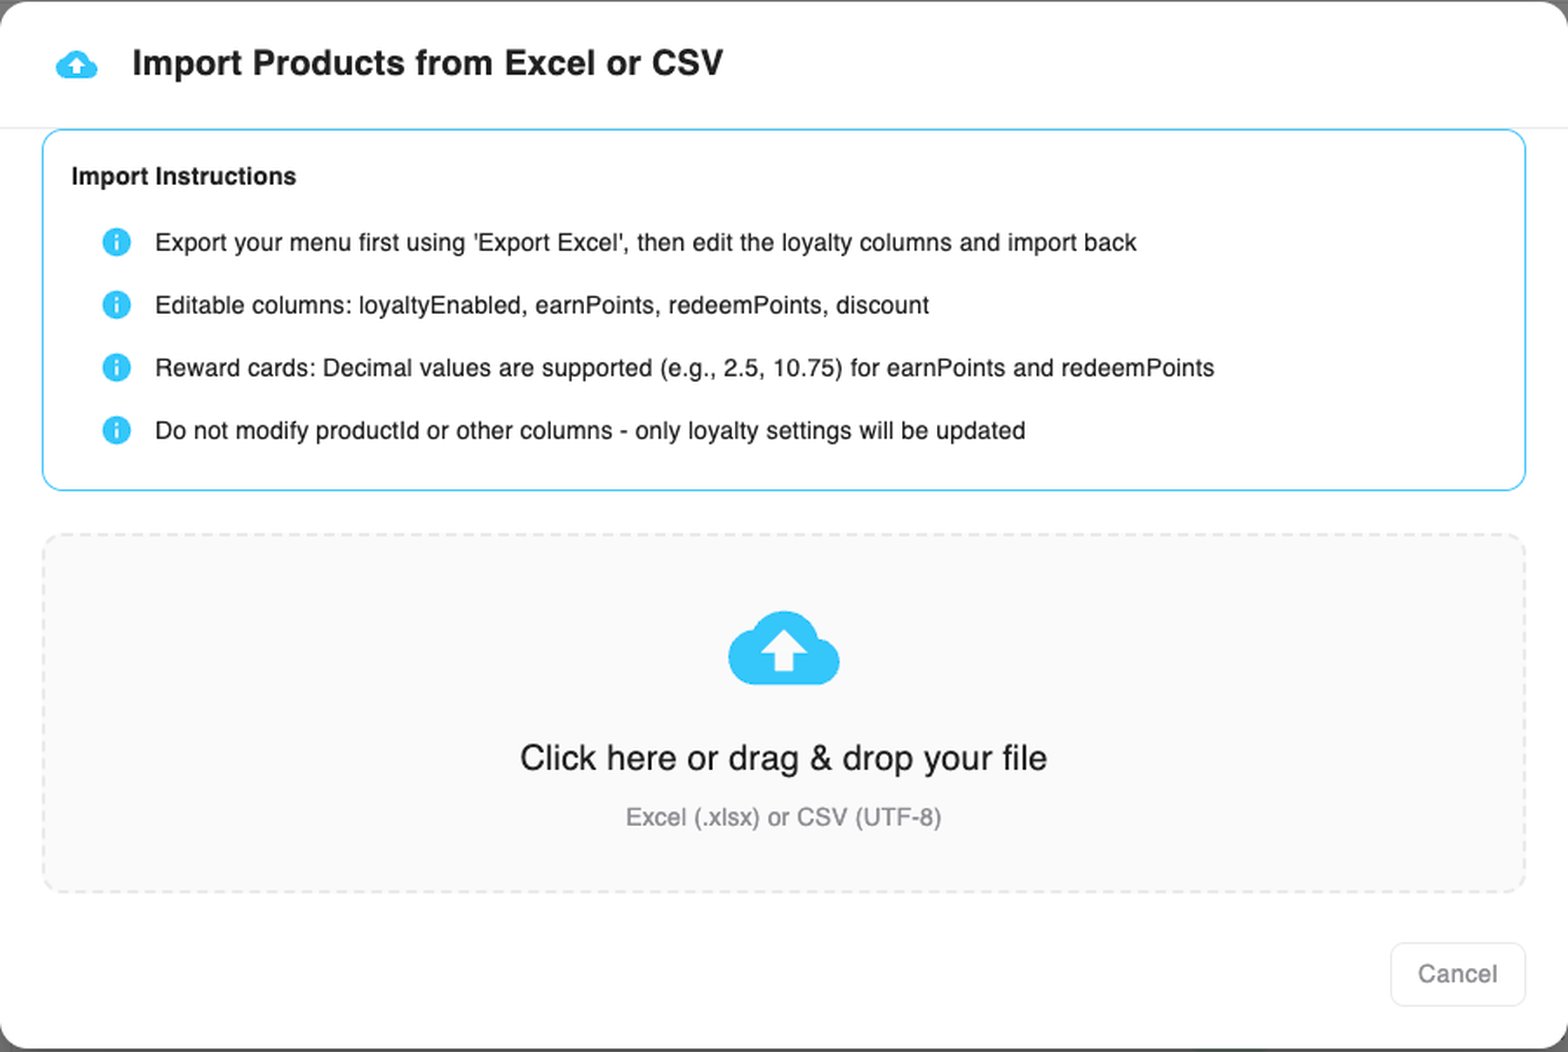
The export has one row per product and lists only the products that are currently in your Papaya menu. You only edit the loyalty columns. Every imported row overwrites all four loyalty columns of that product, so keep all of them filled in:
Rows whose productId is not in your synced menu are skipped, and any rows with errors are skipped too (shown in the import summary). Product names and prices are never changed by an import, only loyalty settings.
Three import behaviours worth knowing:
  • Always use positive numbers. earnPoints and redeemPoints are counts, so a negative is not meaningful. The importer does not reject one, it writes -2 as 2. If a product comes back earning the opposite of what you intended, check that column for a stray minus.
  • discount is cut to a whole percent. 12.9 becomes 12. Anything above 100 is rejected with the line number. A negative number is read as its positive value, like the point columns.
  • Decimals in earnPoints and redeemPoints are accepted and kept to two places, even on a stamp card. Switching card type rounds them, but an import afterwards can put decimals back, and nothing rounds them again. Use whole numbers for stamps.
The Import Products from Excel or CSV dialog, listing the editable columns loyaltyEnabled, earnPoints, redeemPoints and discount, above a drag and drop area for an .xlsx or .csv file.

The import summary before confirming

What to set next

How you fill in earnPoints, redeemPoints, and discount depends on your card type and redemption mode. See Card types and point setup.