Create a staff card: a discount in % that starts at a spend amount, with an optional monthly limit. Start from a template.
An Employee Card is a discount you issue directly to a member of staff. You set discount levels in % (called steps in the setup). Each level starts at a spend amount. You can add a monthly limit. The discount applies automatically at the POS.
A monthly staff credit, for example 300 € to spend each month.
A fixed staff discount, for example 20 % for the whole month.
Good to know:
At the limit on Storyous and Papaya tills and in the VEXiON scanner, the bill gets only what is left. Example: 5 € left, bill 20 € at 100 %: 5 € off, the employee pays 15 €. Papaya takes only whole percents, so the discount there can be a little lower, at most 1 % of the bill.
At the limit on Dotykačka and Oberon tills, a bill that starts under the limit is discounted in full, even if it takes the employee over the limit.
A bill that crosses a level still gets the old percentage in full.
The card is issued directly, so there is no signup form and no referral program.
The old Employee credit card is no longer offered. Credit cards you already had are now Employee cards with one 100 % level and the same monthly amount. Each employee keeps what is left this month.
Already created this card? You can edit it any time: change the settings, design, or details, and the update reaches existing cardholders.
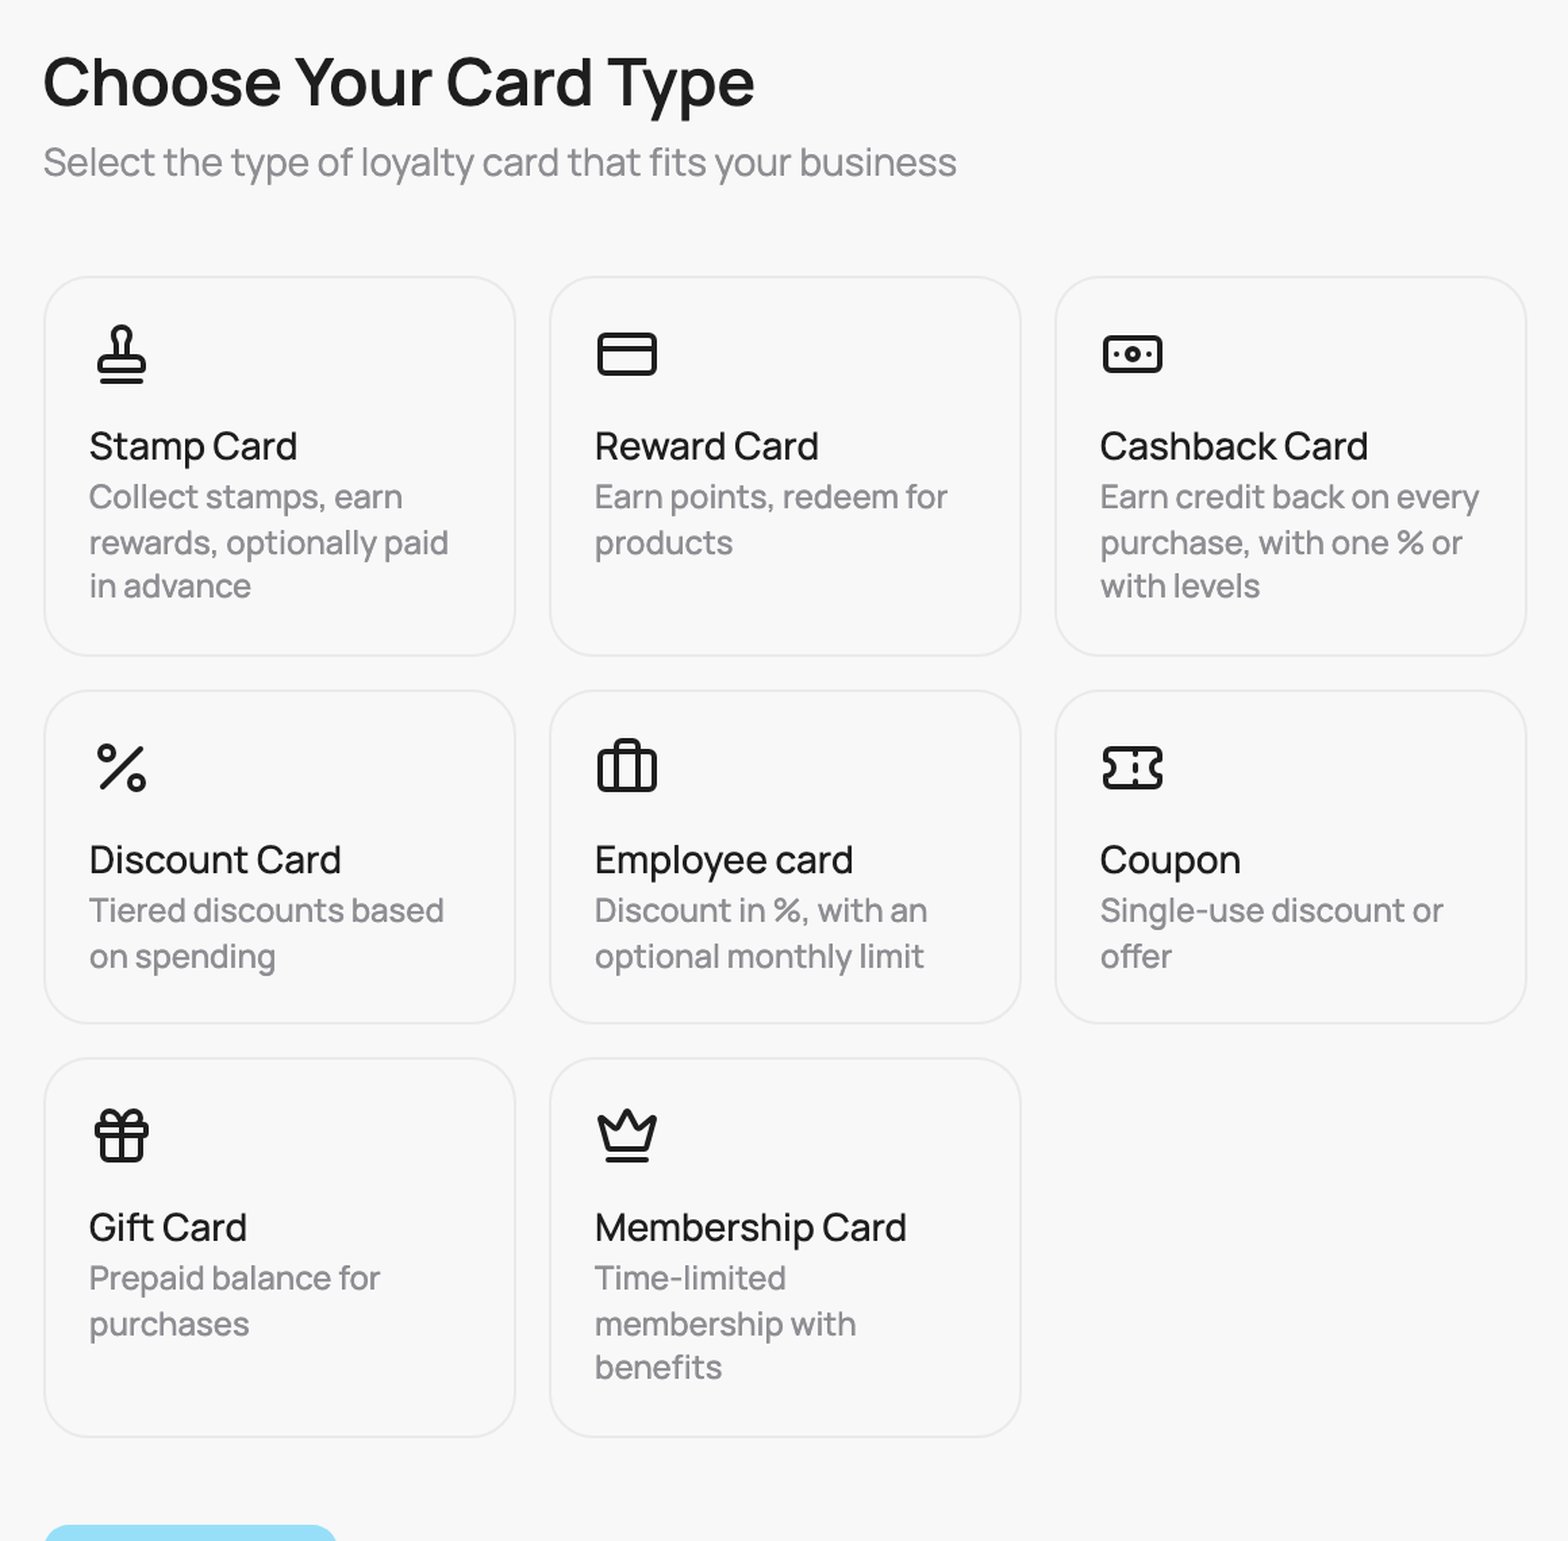
Go to Passes and click Create Card. On Choose Your Card Type, pick Employee card and click Continue.
Choose Your Card Type: the Employee card tile
2
Employee card
On the Employee card step you set three things.Start with a template (new cards only): one click fills the levels and how the month ends. Change anything after.
Discount 20 %: 20 % for the whole month, no limit.
Monthly credit: 100 % up to the monthly limit, 300 by default. Change the amount to what you want to give.
100 %, then 20 %: 100 % from 0 to 300, then 20 % until the reset day.
To go back to your own levels, click Undo in the message that appears, before you change anything else.
The Monthly credit template: 100 % up to a monthly limit of 300 €
Discount during the month: the levels. Each level has a Name on the pass, a From (€) amount and a Discount (%). The first level always starts at 0. A level runs until the next level starts, and the line under each level shows its range. Click Add step for another level. The more the employee spends in the month, the lower the level that applies.
Two levels: 100 % from 0 to 100 €, then 20 %
How the month ends: choose one option.
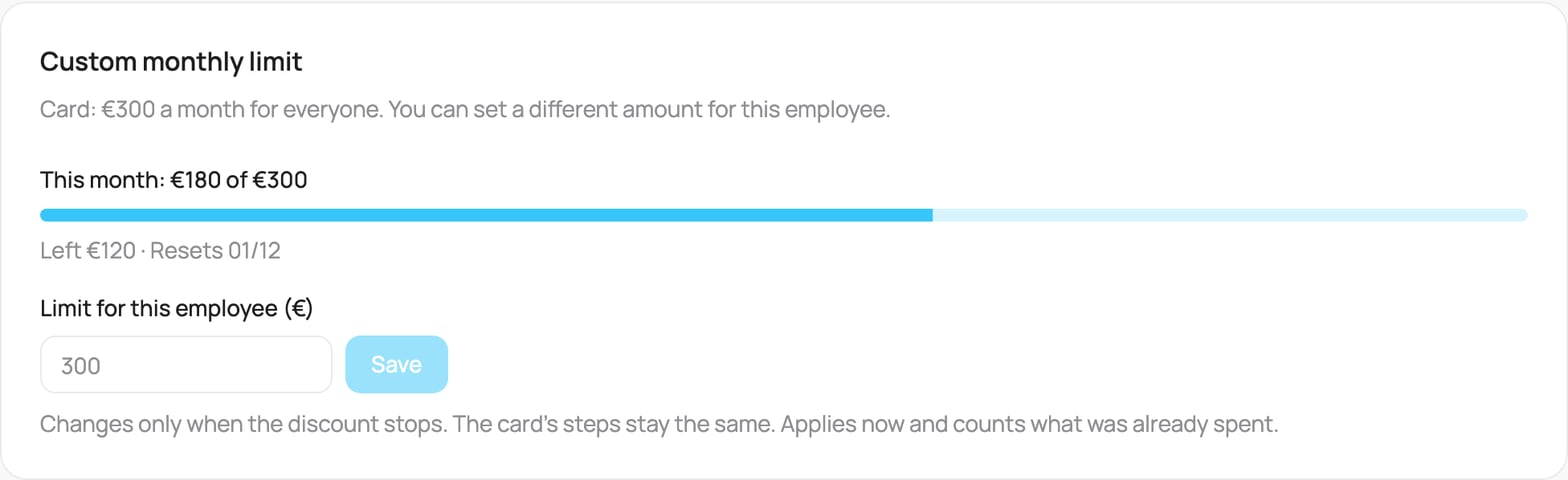
Stop the discount at a monthly limit: set the Monthly limit (€). From the limit on there is no discount until the reset day. Every level must start below the limit.
No limit: the last level applies until the reset day. With no limit the last level must be below 100 %, otherwise every bill would be free.
Reset every month on day: a day from 1 to 28. On this day every employee starts again at the first level.The How it will work box shows the whole month as one bar: one part per level and the amounts under it. Point at a part of the bar to see its range.
Monthly limit of 150 € and the summary of the month
Advanced settings (closed by default):
What counts toward the steps: Full bill amount (before discount), Net paid (after discount) or Discount value given. With Net paid a 100 % level is not allowed, because nothing is paid and the month would never fill.
Hide budget on pass (switch): when on, the employee sees only the discount on the wallet pass, not the amount left.
A field with a problem turns red. Click Continue.
3
Card Design
On the Card Design step, choose how the card background looks: Auto-generated (an icon pattern, with a Pattern Style and up to 3 icons) or Custom upload (your own background image). Click Continue.
4
Card Appearance
On the Card Appearance step: upload your Logo (480 x 150 px) and Notification Icon (512 x 512 px), and set the Card Colors. Click Continue.
5
Card Information
On the Card Information step, set the text and links on the card:
Company Name: your business name.
Business Links: your website, Instagram and Facebook. They appear on the back of the card.
Review Link: choose Automatic (recommended: the Google review link of the store where each customer signed up), Custom link (one review page you choose, the same for every customer) or Off (no review link on the card). See Review link.
Show terms of use: switch it on to display your terms and conditions on the back of the card, then type them into the box that appears.
Loyalty programme rules: its own switch, separate from Show terms of use. Turn it on and paste the web address of your own programme rules. Customers see the link when they sign up, next to the VEXiON terms, and it does not replace them. The link is never on the card. If you paste an address without https://, it is added for you. See Editing a card.
Click Continue.
6
Review & Create
The Review step summarises everything. Then Save as Draft, or Create & Activate. You then issue the card to the employee.